Continuing on, here we go…

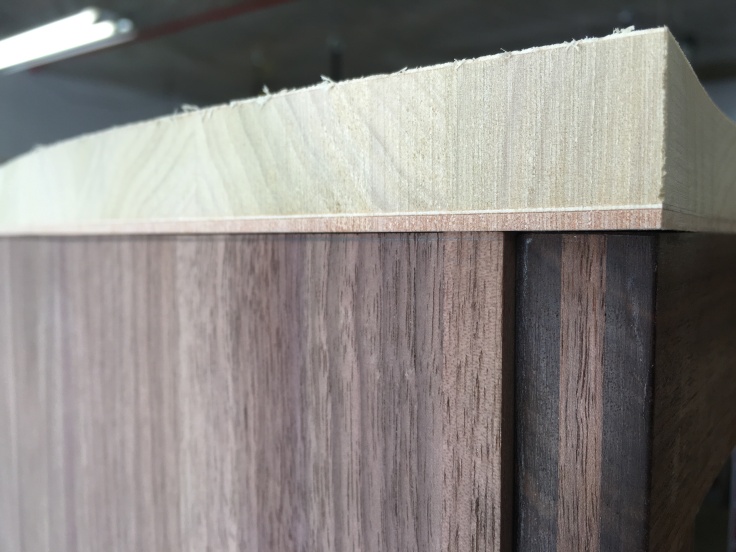
A nice detail shot of the door edge, bridle joint, applied edges and rabbet. Applied edges have been softened and all the veneer work done. Although I made the applied edges thick enough to rout some sort of profile, I decided against further embellishment and left it “el natural”. The edge of the door is hidden by about 3/16″ which allows for some possible future wind in the door; it also helps to soften the look.

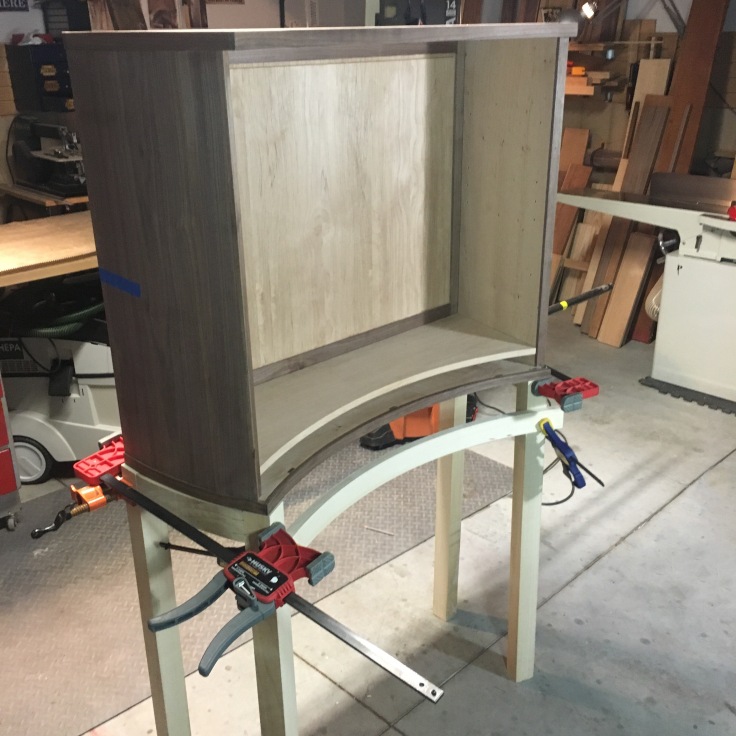
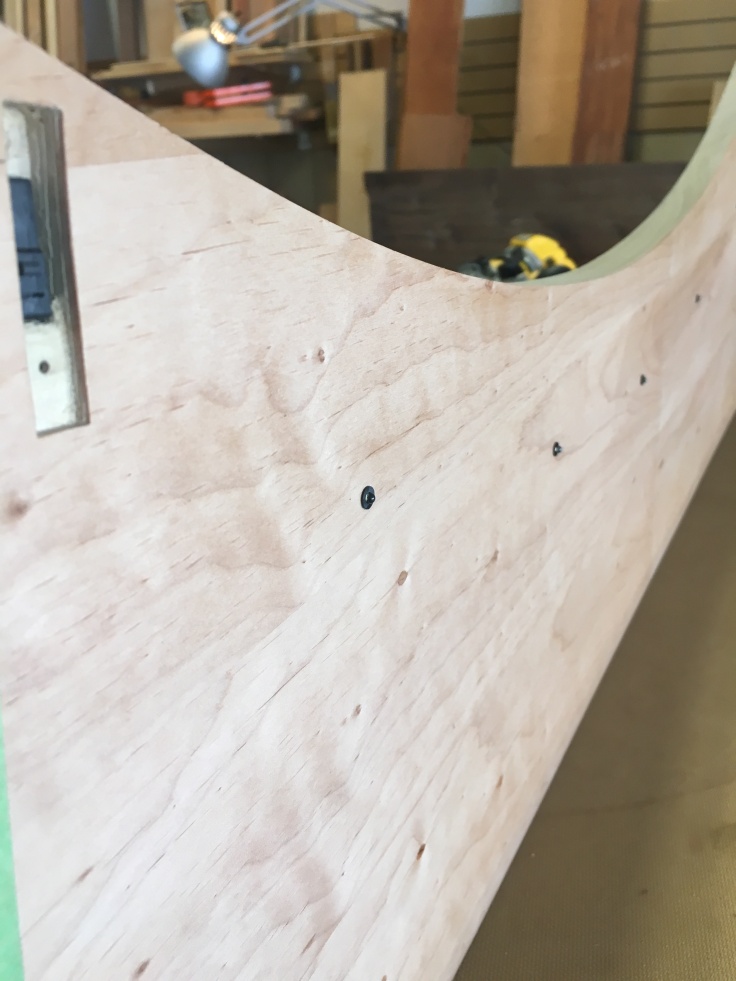
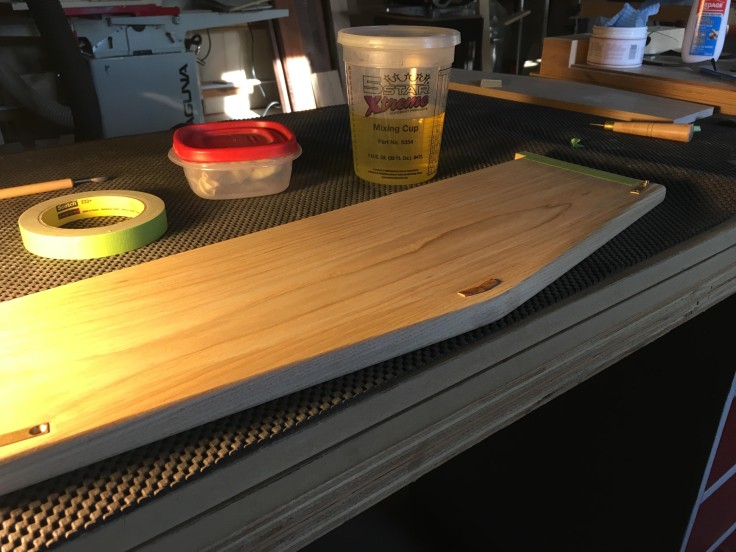
It was time to start thinking about a back panel. I had run out of the Alder (whoops) but I did manage to find something similar in my local hardwood store (aka my school shop) Thankfully, a piece left over from a student project worked well. I framed the panel in Walnut. The alder panel is about 1/2″ thick and is made up of 5 pieces.
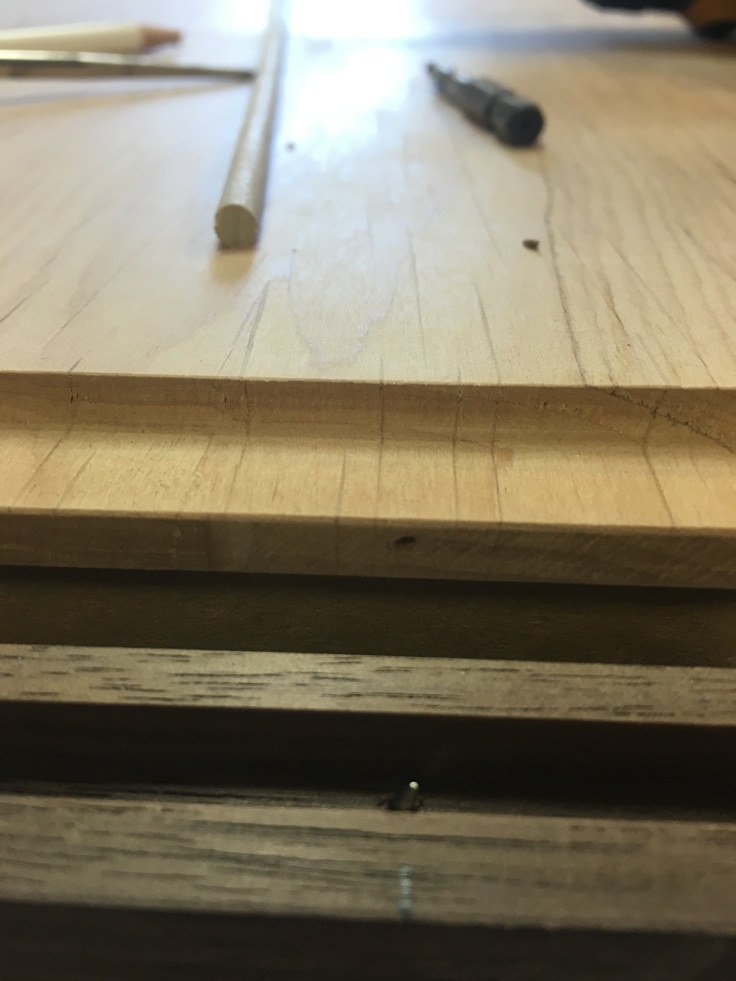
A long time ago, in a far away post of mine, I showed fellow woodworkers this little trick. By finding center of both the panel and the frame and drilling and notching a small cut out you can place a piece of dowel in the frame to help keep the panel centered in the groove throughout the seasons. The nail is my homemade dowel center which places a center point mark on the panel so I know exactly where to notch it. Then I remove the cut nail and drill for the appropriate sized dowel. In this case a 3/16″ dowel worked just fine.
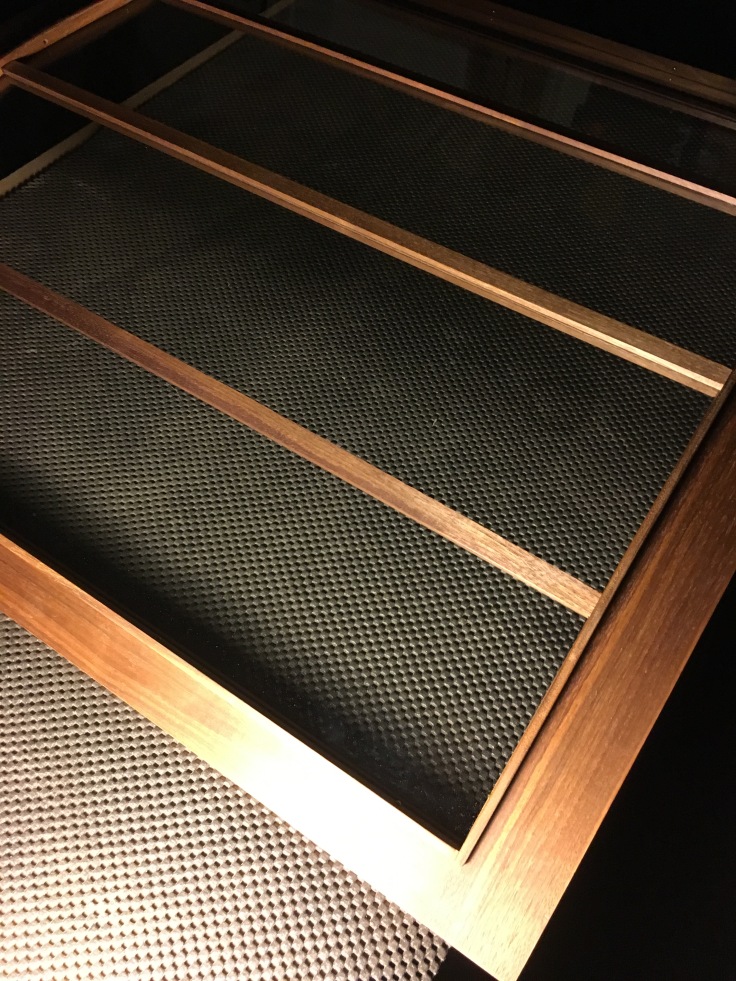
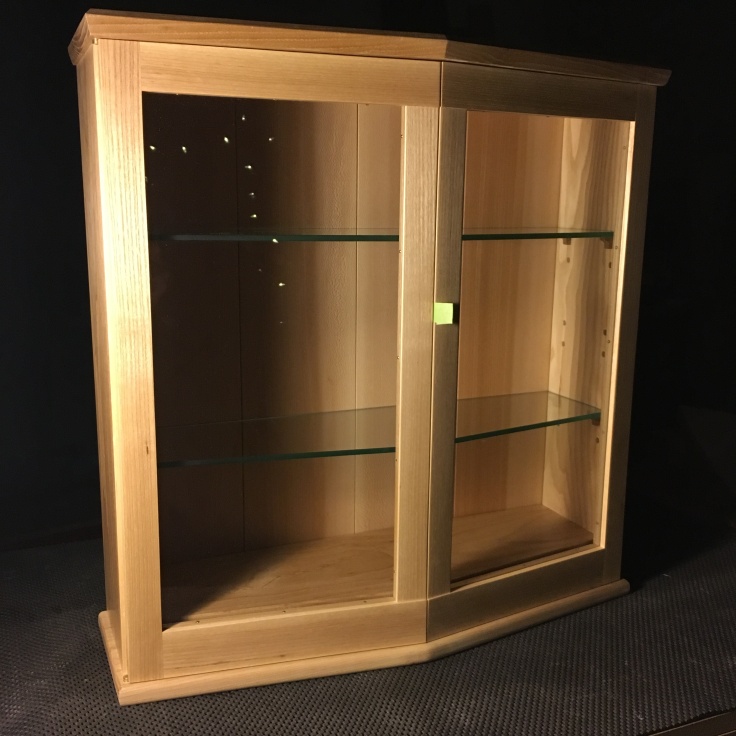
Did some finishing with shellac on the inside of the door frame and oil on the front. Not a good idea to use any sort of oil finish inside a cabinet as the smell of oil in an enclosed space will always be somewhat nasty to whomever opens the door. Shellac has no odor after it has cured. I also started fitting the glass stops. I used brass nails, but once I hung the door and was taking another look at the stainless steel knife hinges, I thought the brass looked kind of odd. Took out all the brass Eustachian pins and used nickel ones instead.

Hung the door and finally tested the strength of the knife hinges. This door is heavy but it glides open and close effortlessly. I am actually quite surprised on how much weight these little knife hinges can support. Upon looking at this picture I realized that the upper and lower glass stops needed some further reduction and tapering. Off to the block plane to fix that 🙂

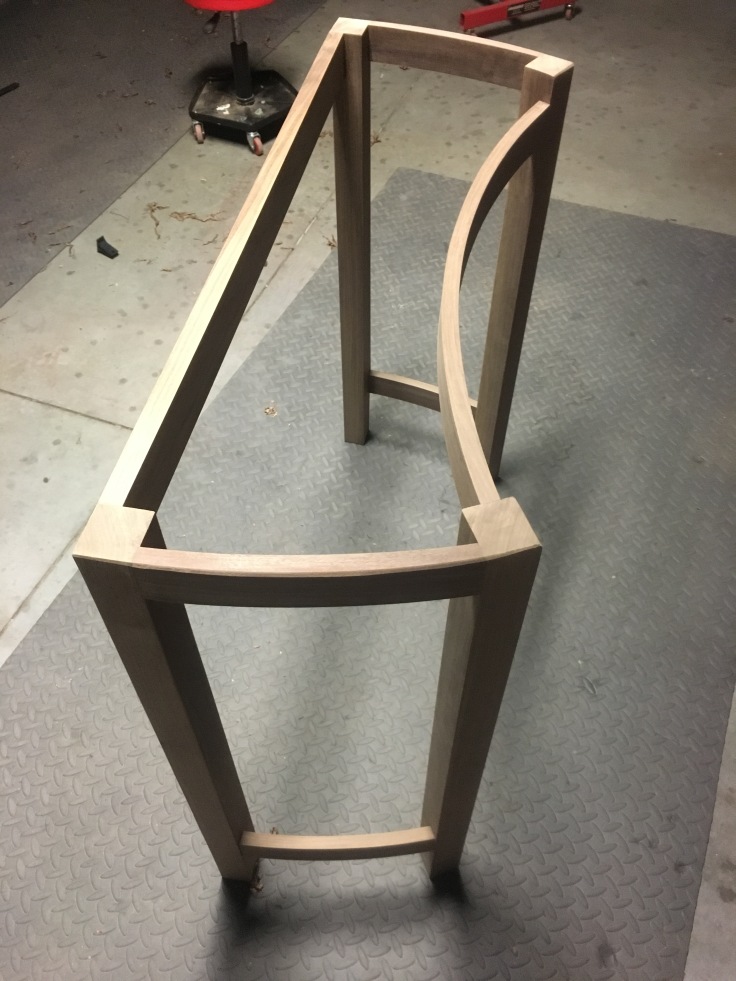
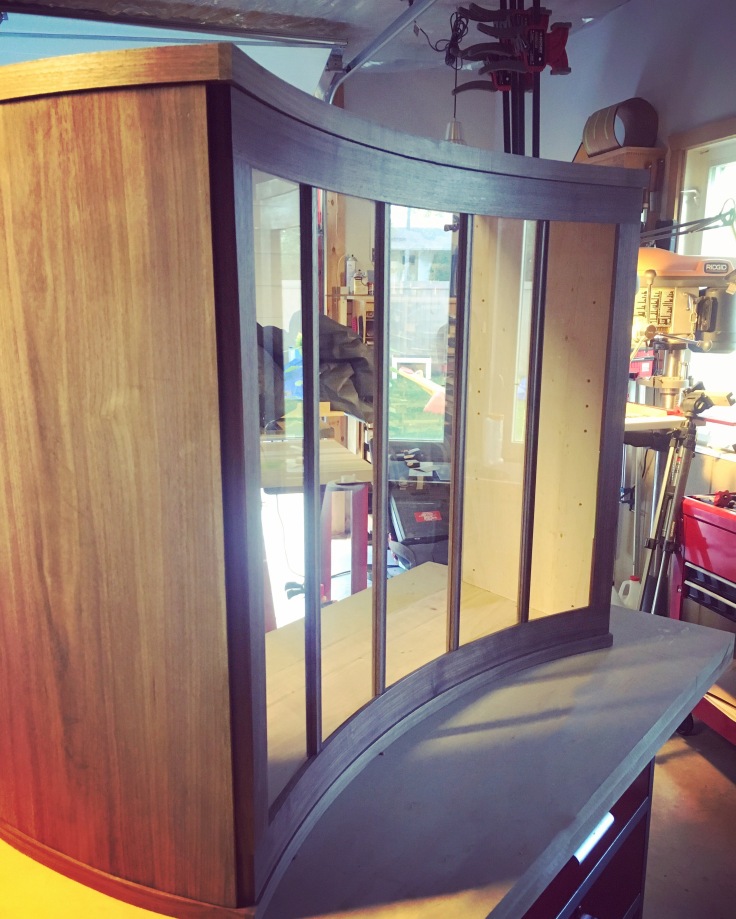
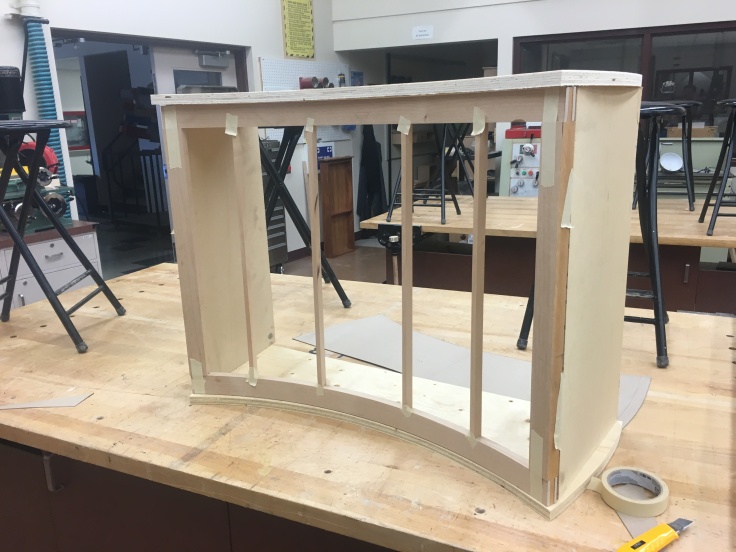
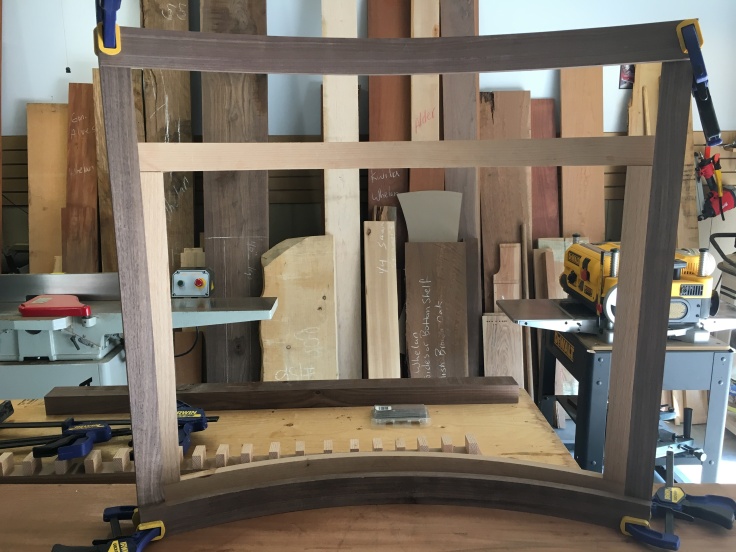
It was time for the mock up of the stand. There was only one 90 degree joint in the whole stand, regardless it was nice to be working in solid wood.
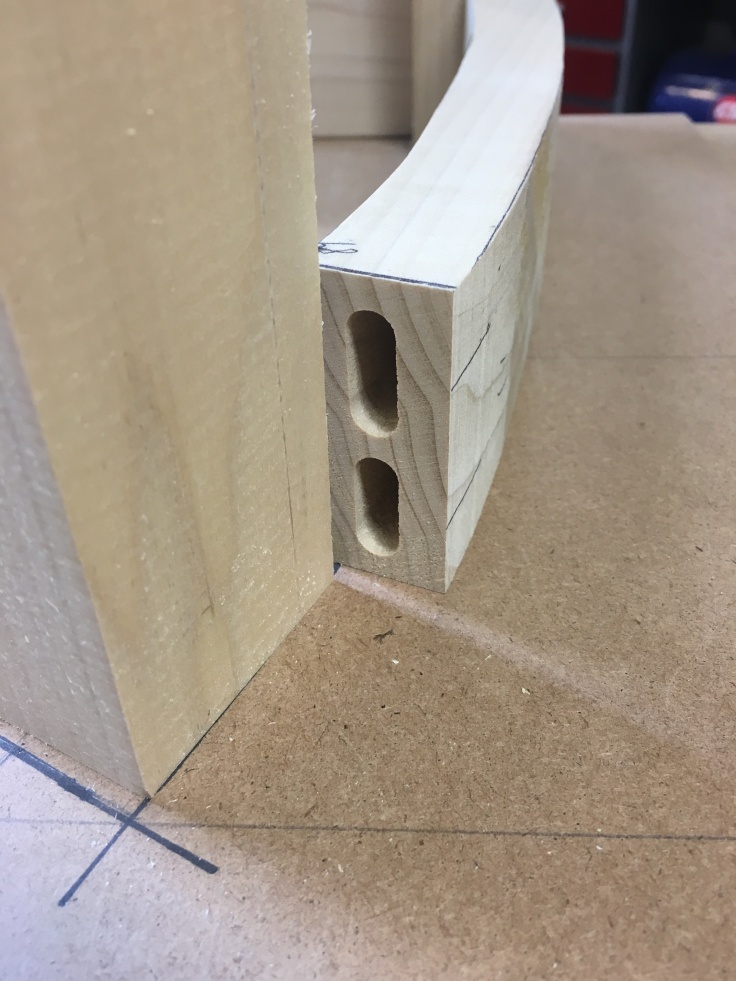
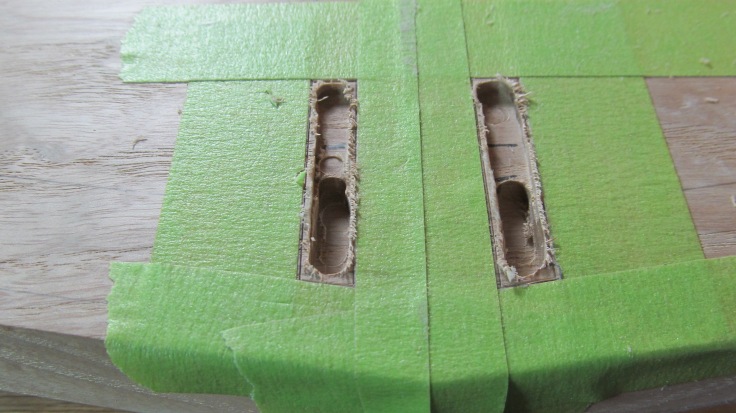
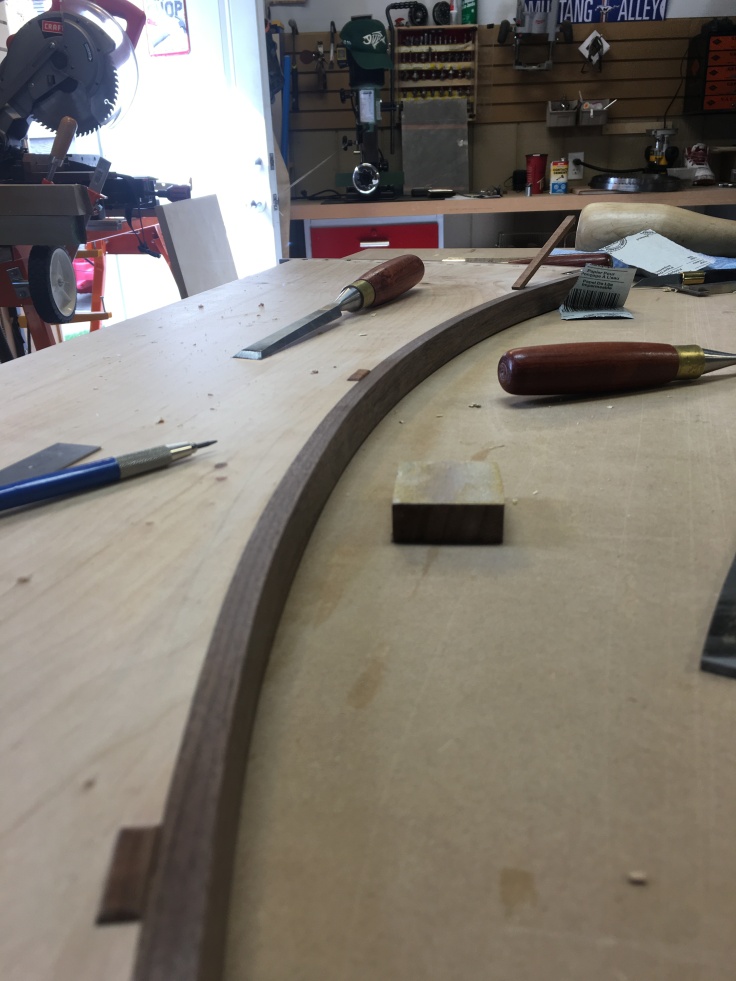
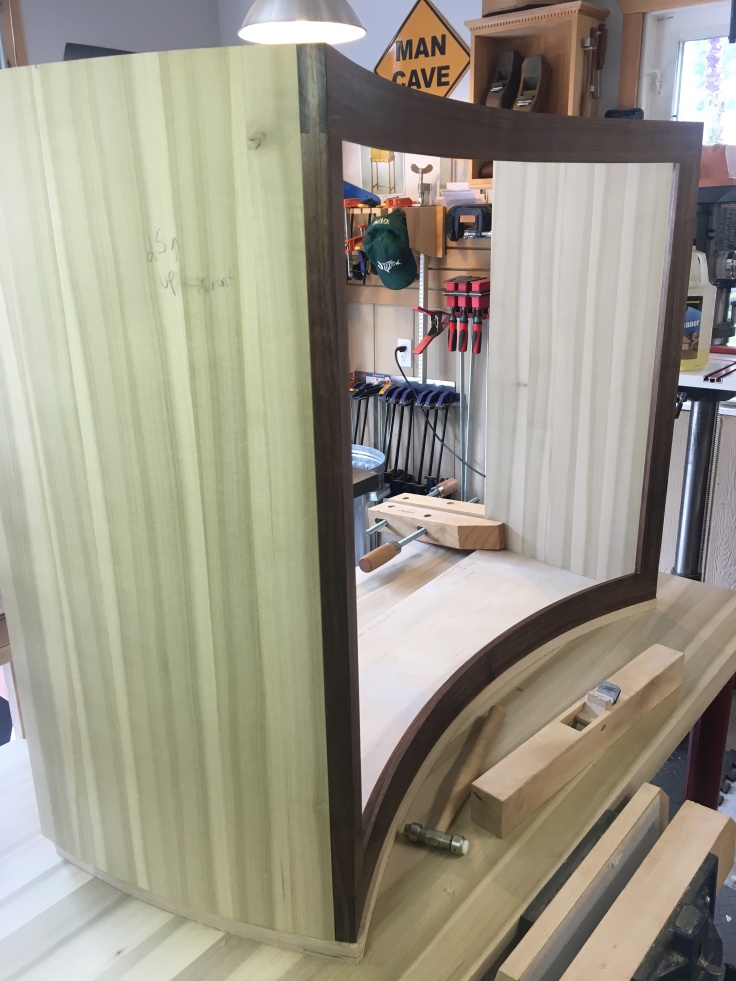
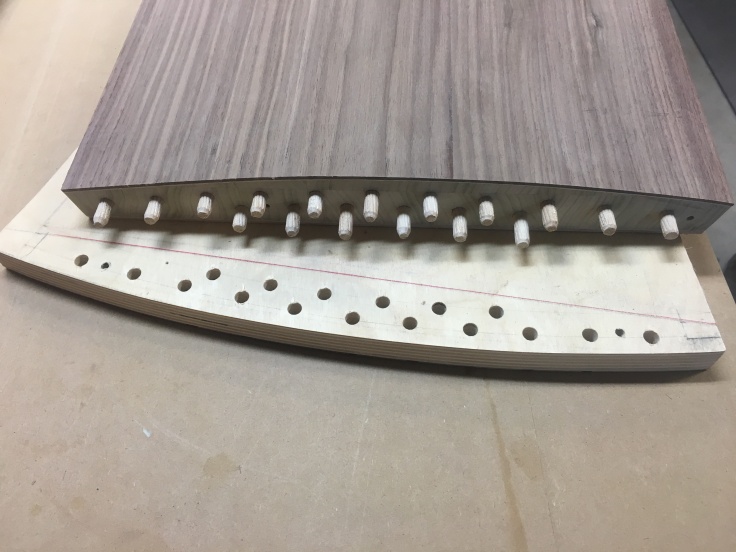
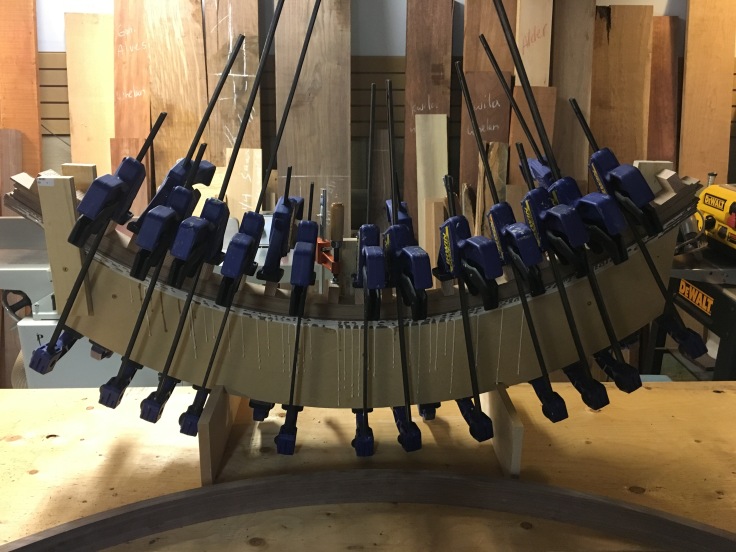
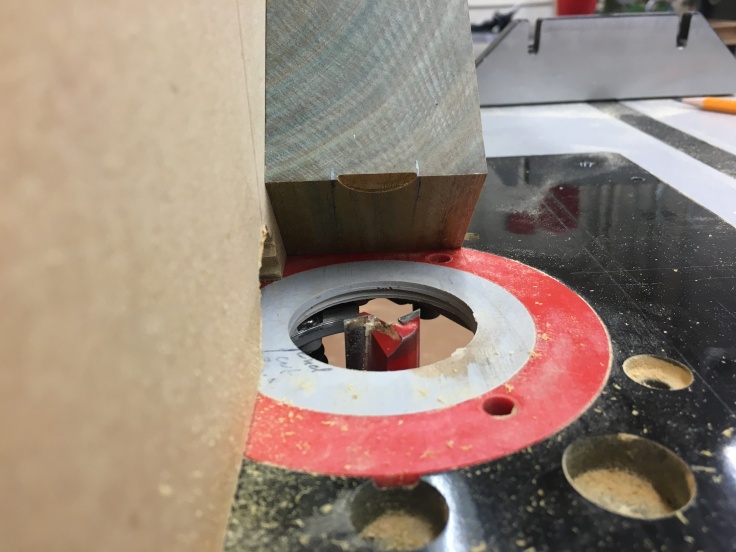
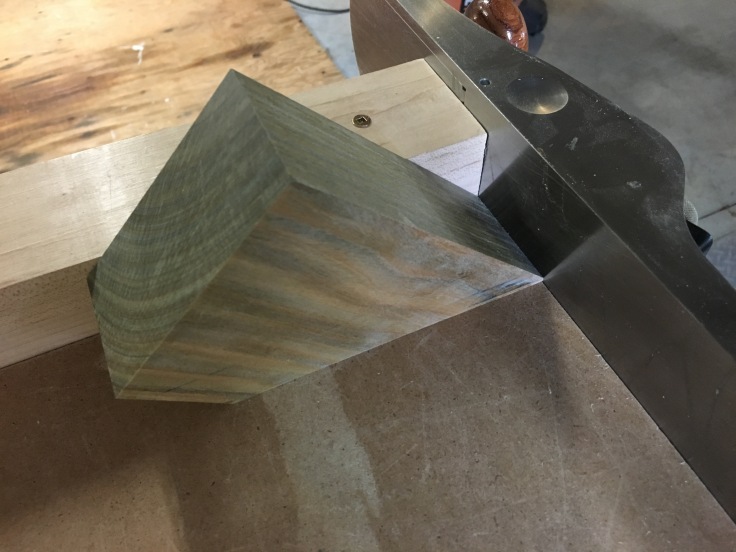
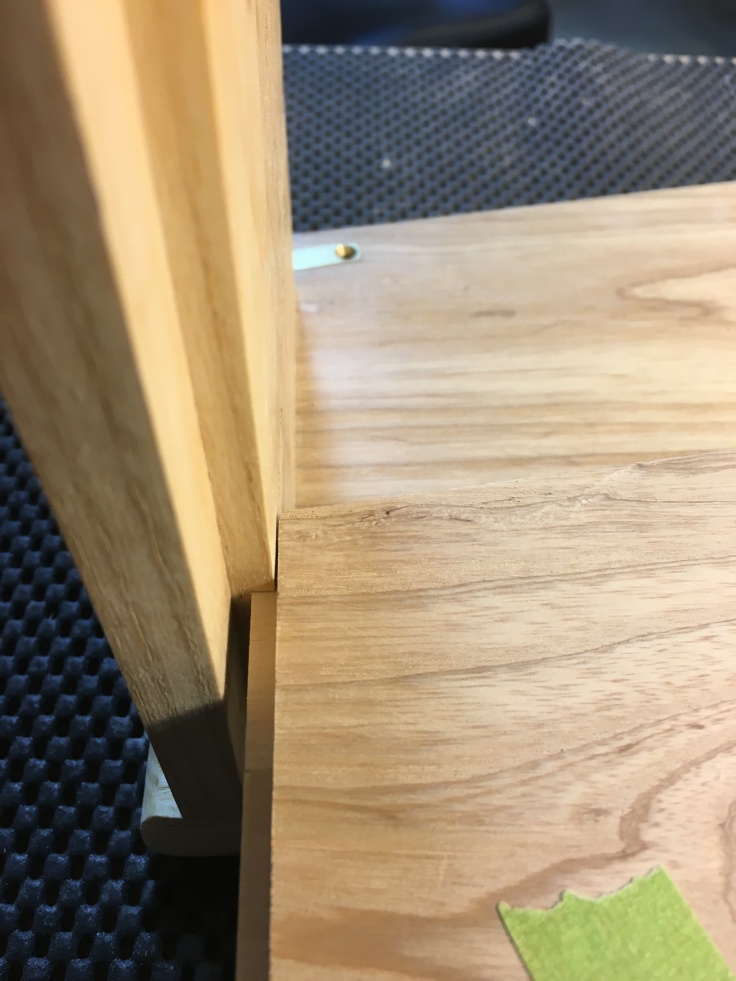
Floating tenons, the only way to do curved joinery. Glad I made a full sized template based off the bottom of the cabinet for all this curved joinery.
Very important to do these mock-ups so one can get a feeling of what looks right and what needs some re-thinking. I knew it would be important to make the stand as substantial as the cabinet. When drafting out the stand I added a bit of extra width and length to the stand so it had the appearance of being larger than the cabinet. I thought about tapering the legs but I really wanted to keep the solid look of the leg. Sometimes simple is better.

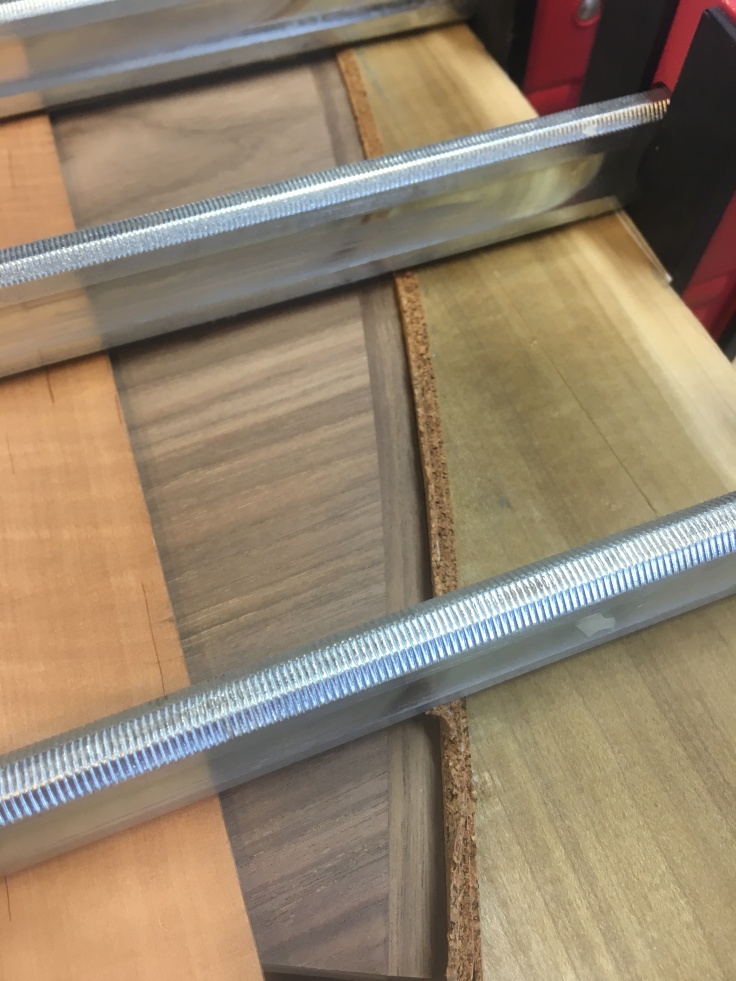
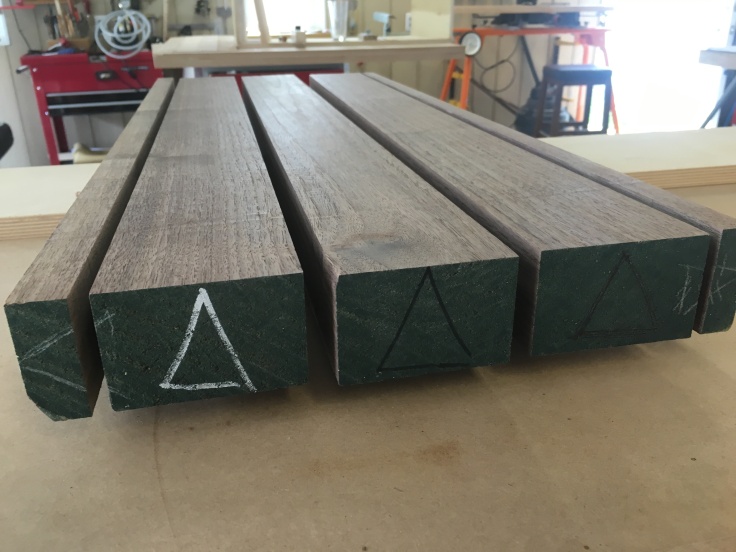
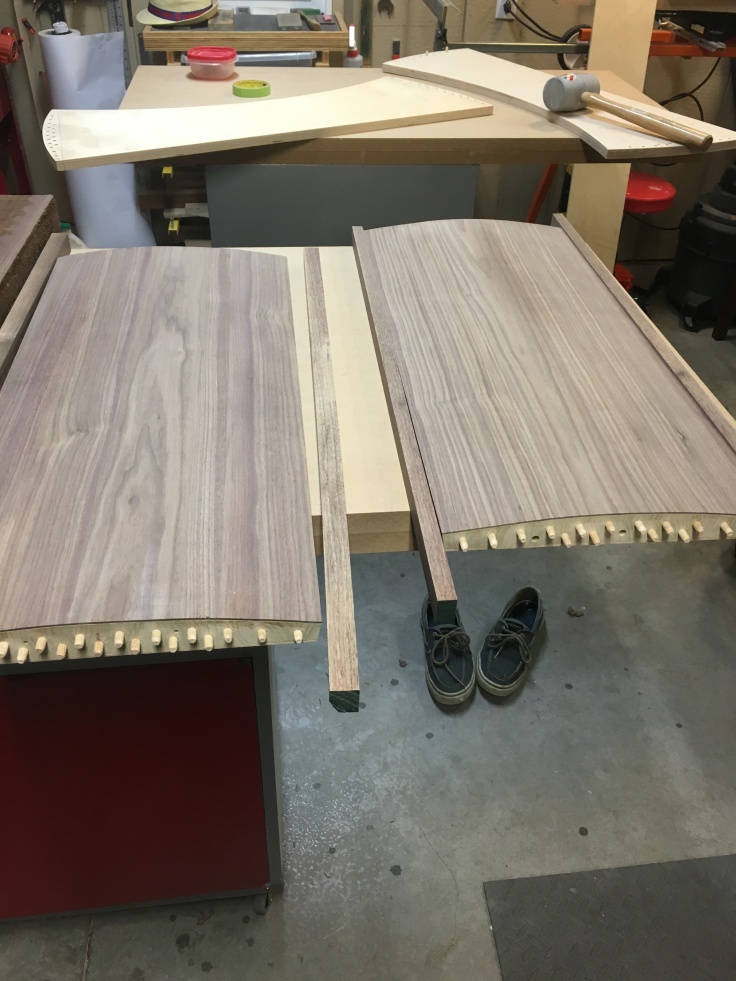
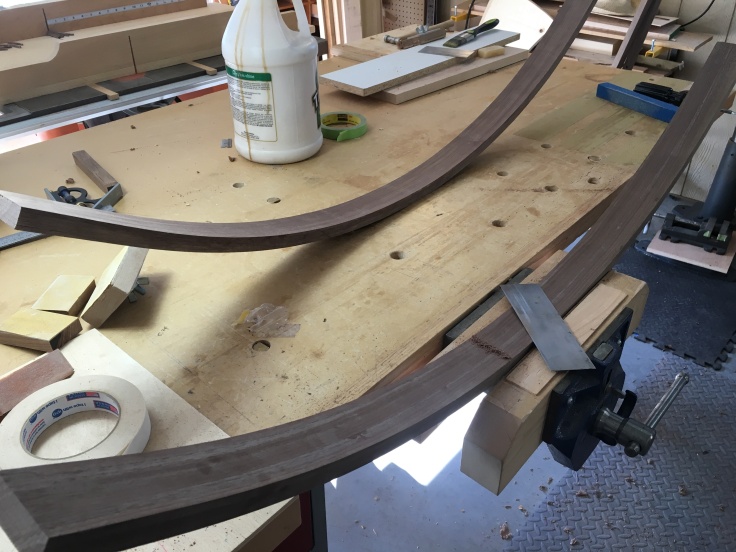
Then everything again in Walnut. Picking straight grain required some considerable grain choices, Walnut is not the most cooperative wood for this.

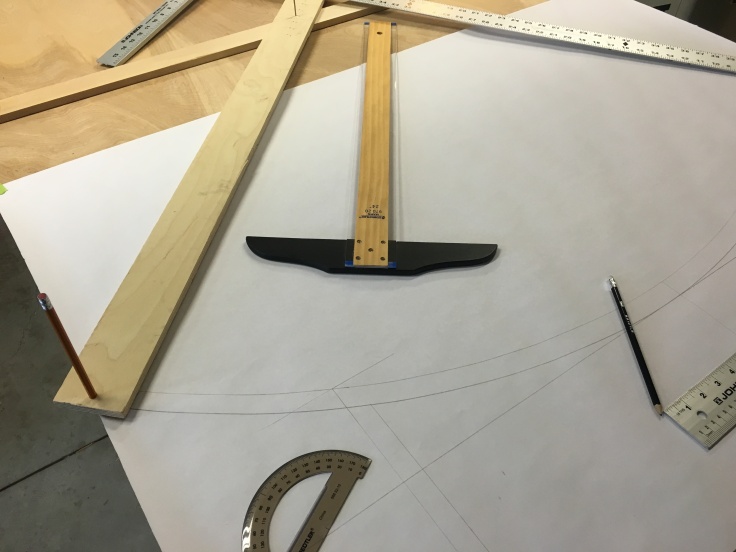
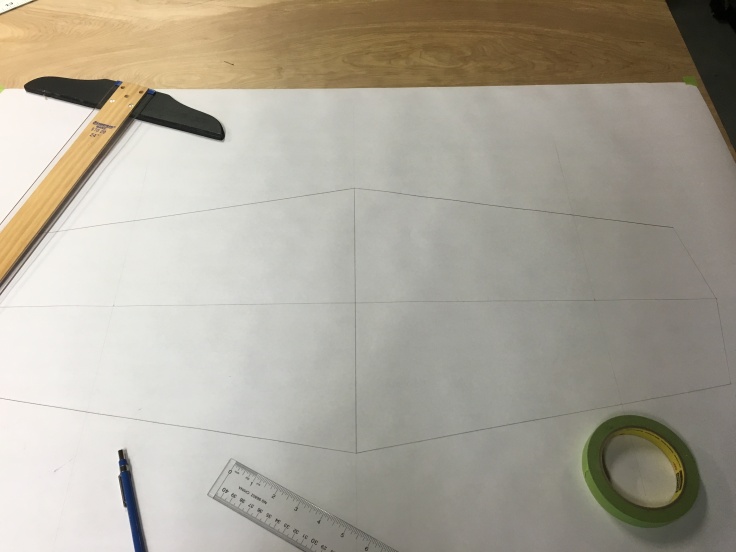
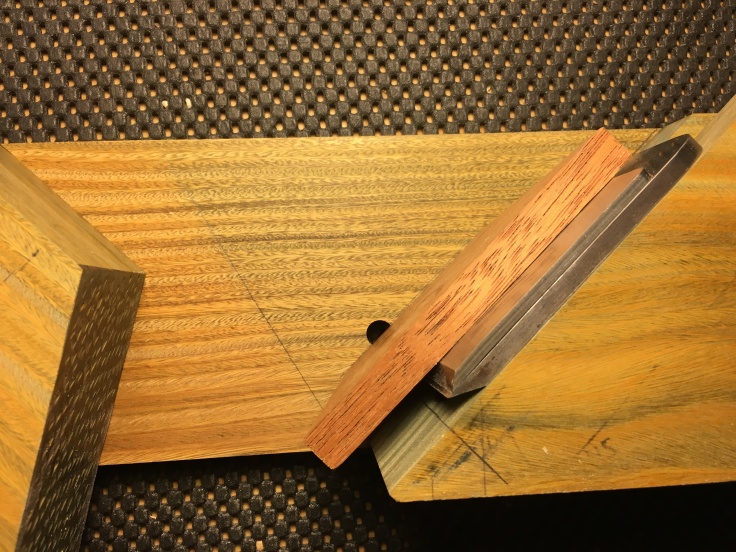
Marking cuts and angles direct from the shop drawing.

Using this Veritas set up block allowed me to bring each angle on the aprons up to the blade exactly where I needed to cut it. I couldn’t tell you the angles, but every cut worked out beautifully. A riser block, a clamp and this set up block was all i needed.
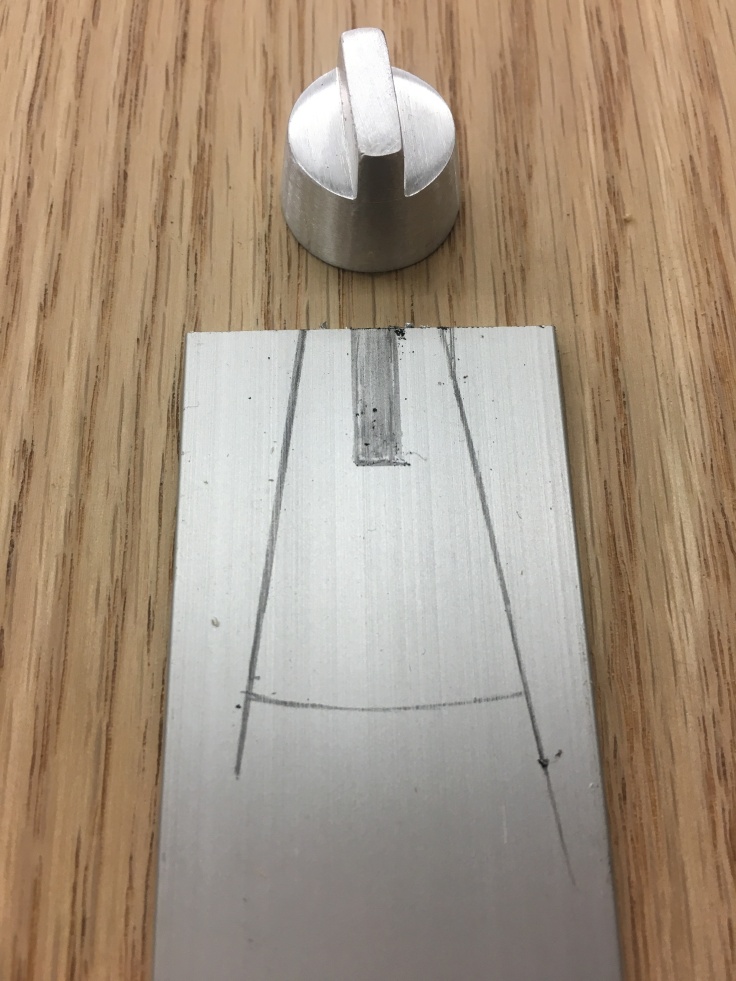
While I was working on the stand at home I took some prep time at school to use the metal lathe and milling machine to make a door pull out of Aluminum. If it works out I may make one in stainless to match the stainless knife hinges.

A little curvery added to match the cabinet.
Stand in Walnut, still need to run a 1/4 cove around the top outside edges. This will give the cabinet a bit of a floating feeling over the stand, hopefully 🙂
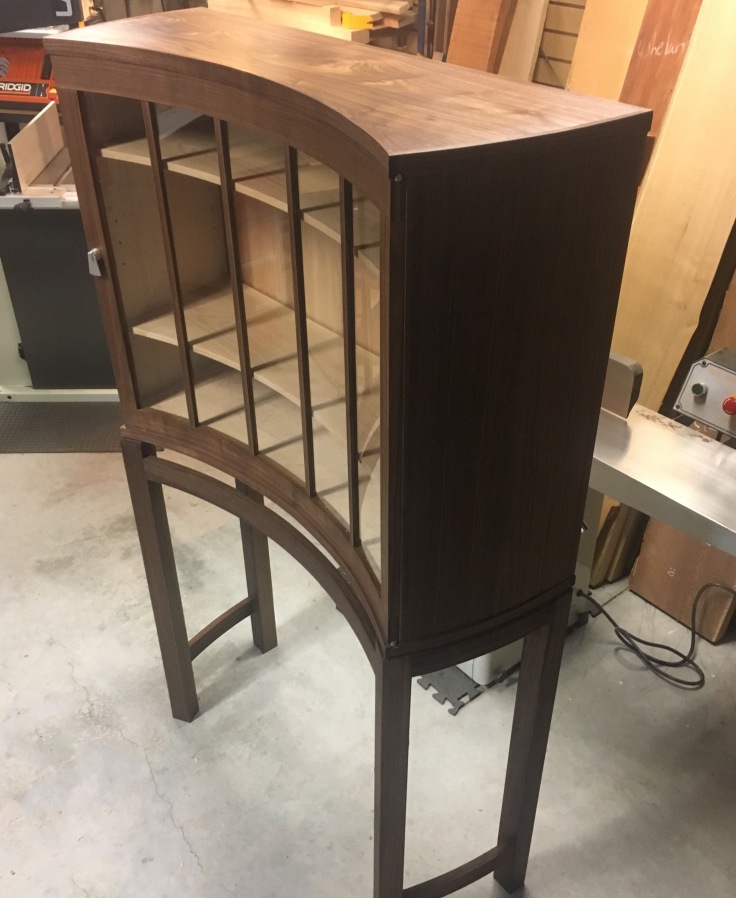
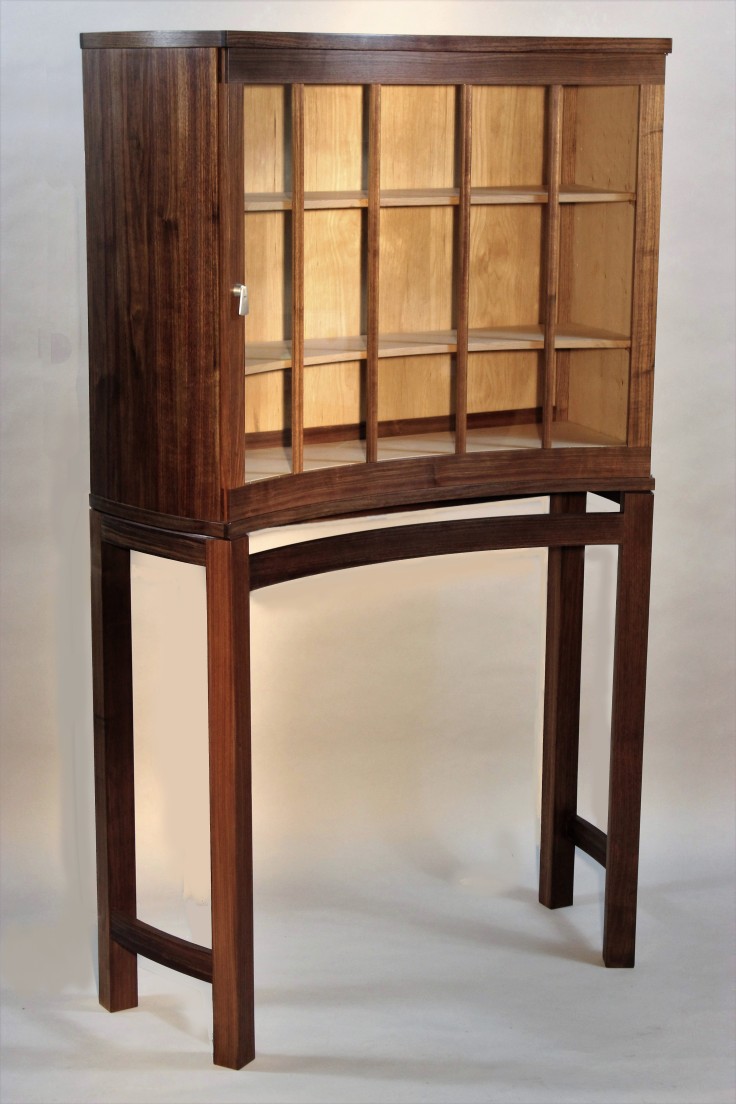
Schooner sitting on the stand, I still need to make brass hardware to fasten the cabinet to it. I also need to make the battery access panel and engrave the door pull with a schooner engraving of some sorts. Stay tuned for final photography on this one.


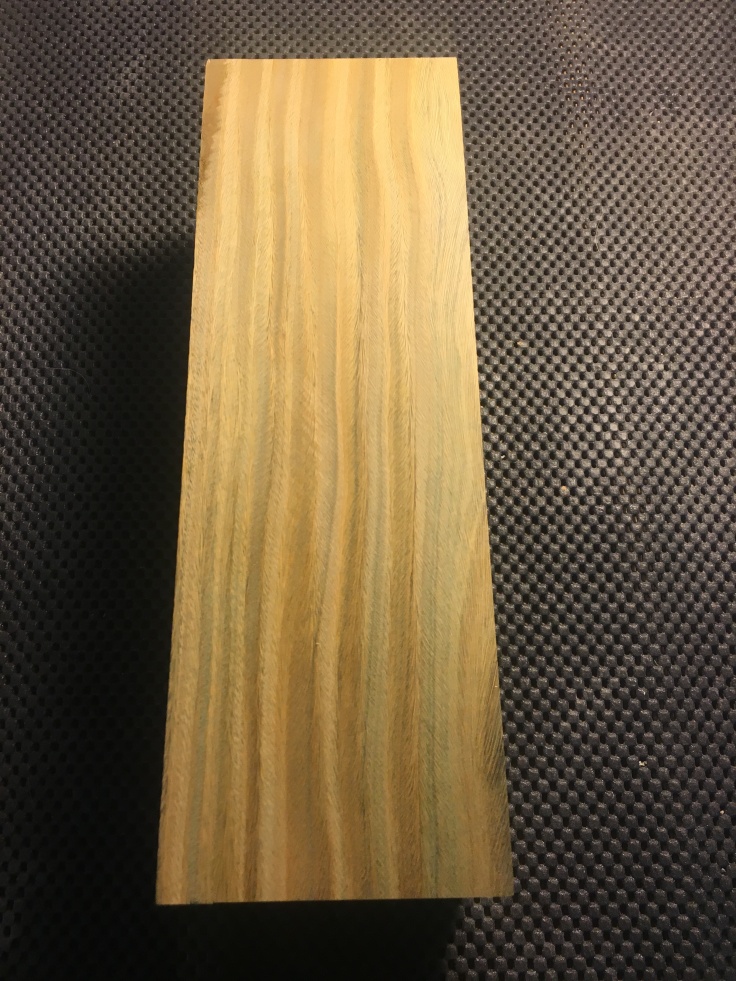


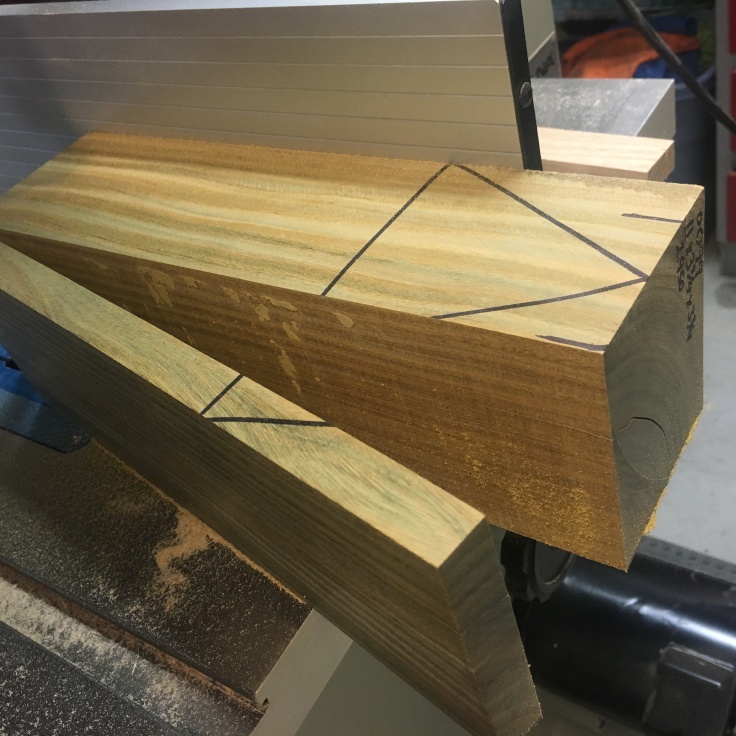

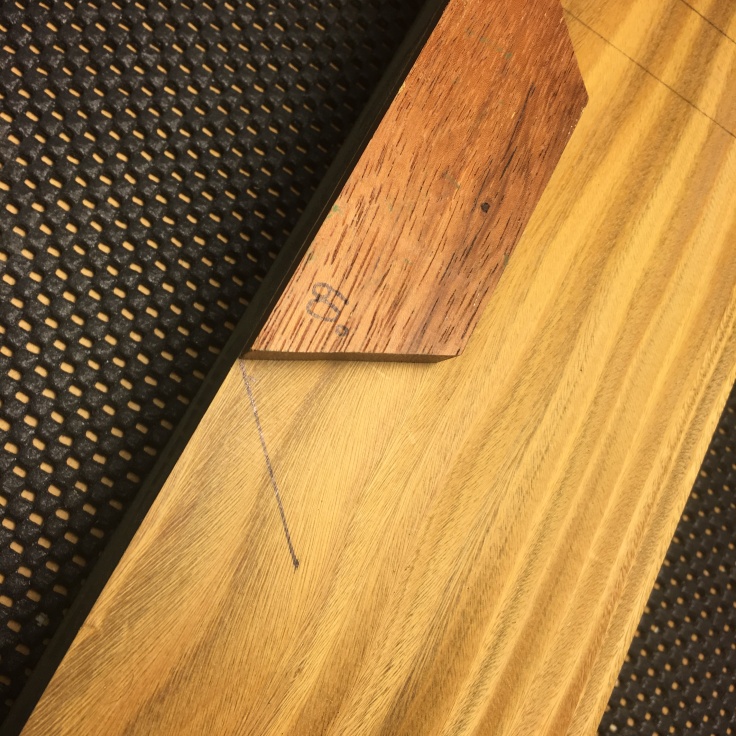


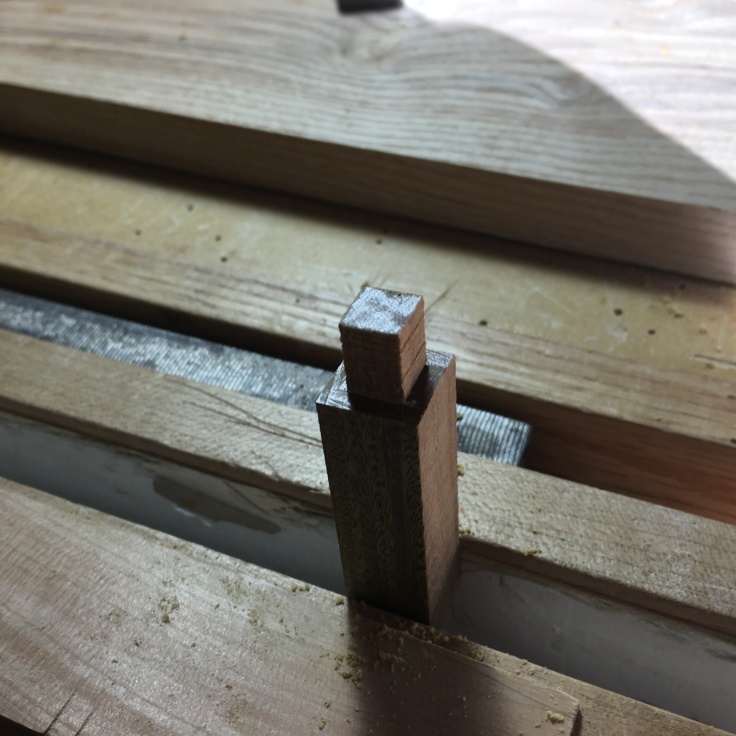


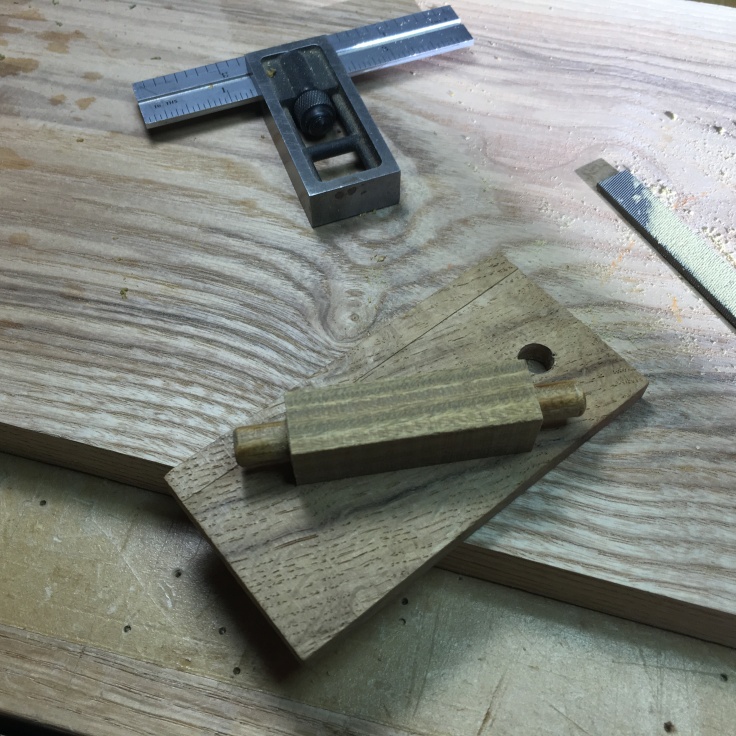
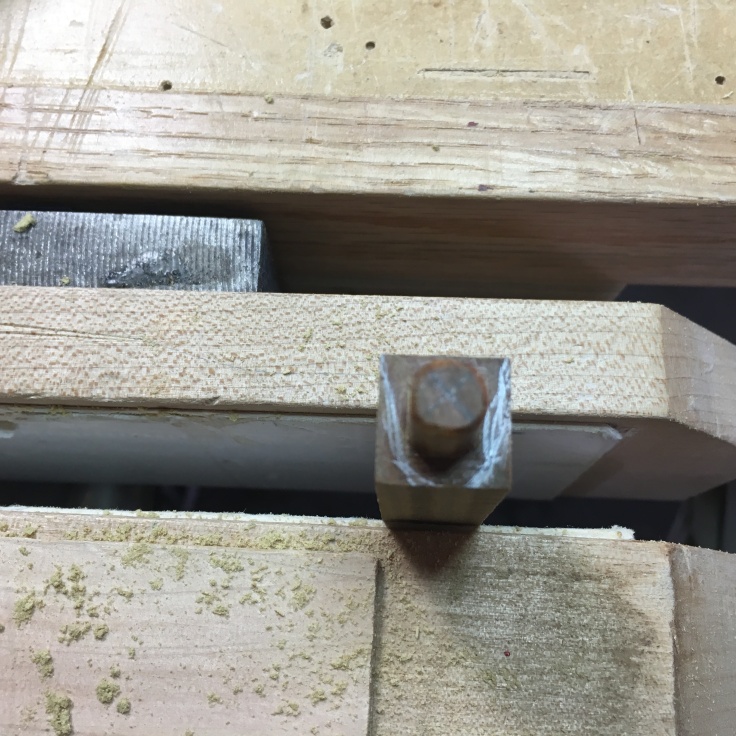
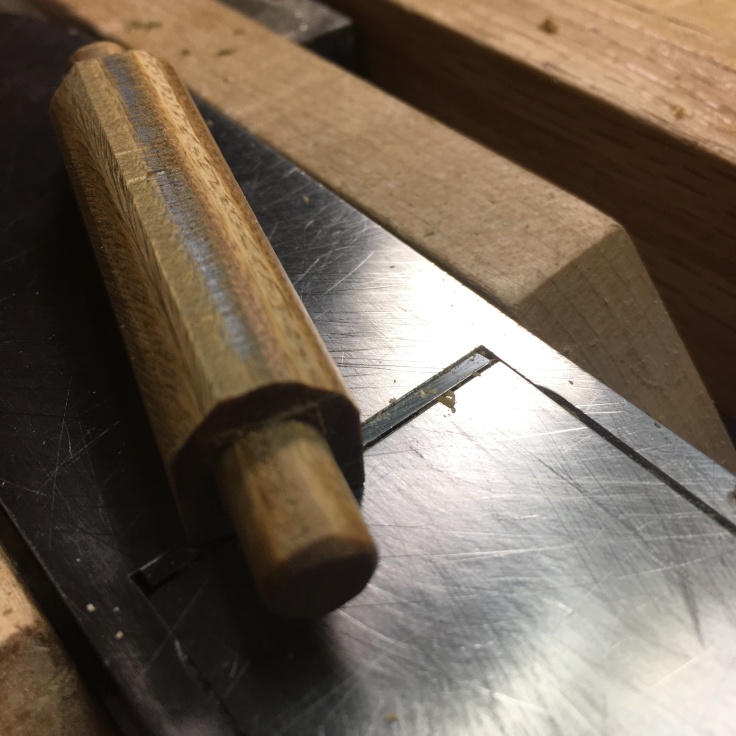


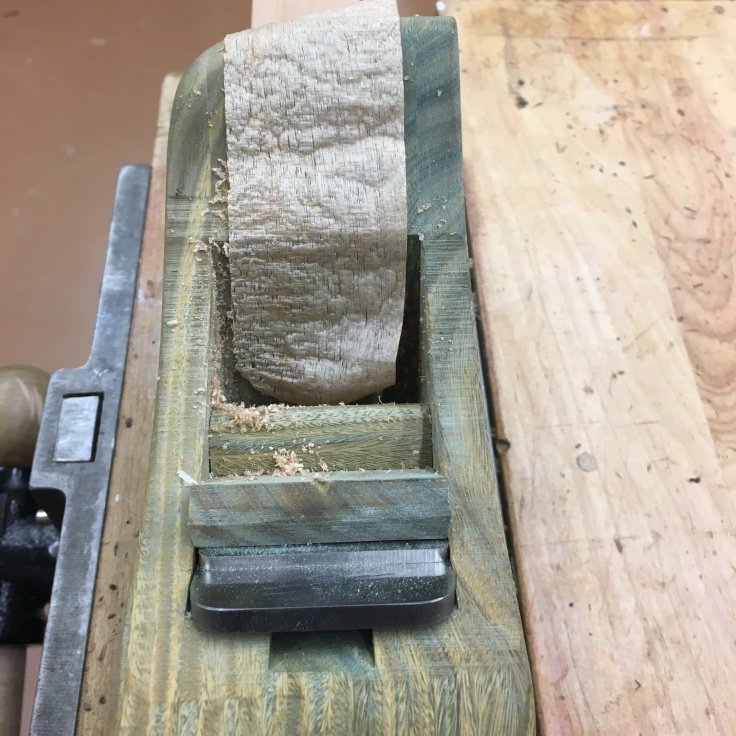


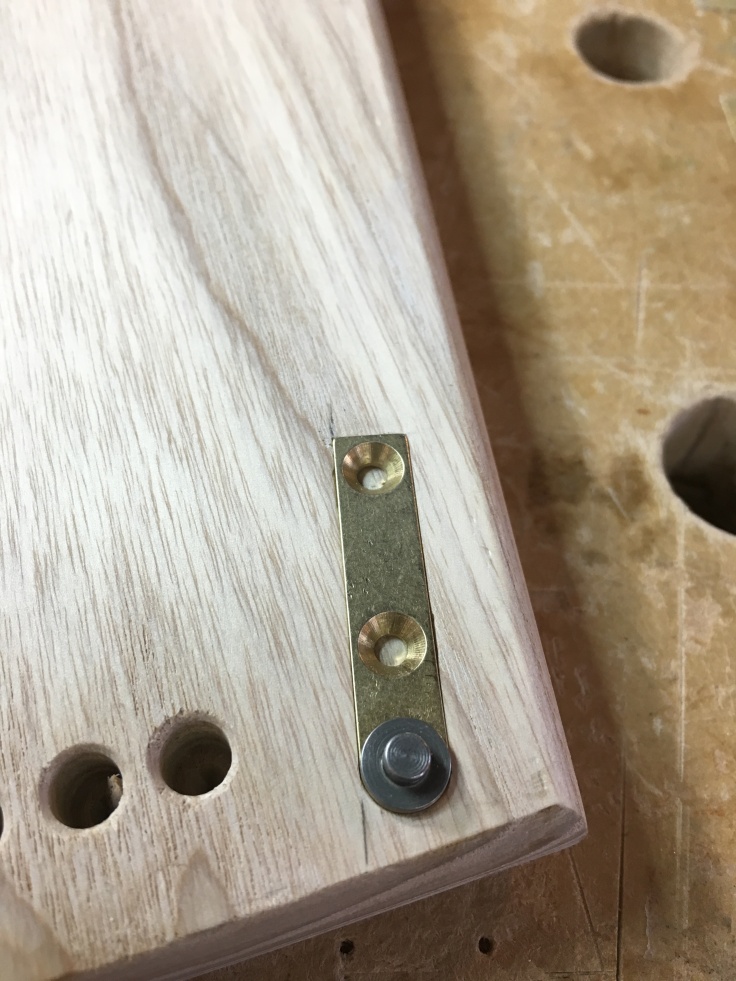
 Olive was used for small parts. It is a beautiful wood to hand tool with small knives and chisels. This little wing shape will be the door levelers for Frax. I decided against the typical round levelers I have been putting in cabinets lately. This is more”fitting” for the cabinet even though it was a little tricky to fit itself.