Progress has been made on “Fraxinus”. I have doweled the cabinet , rabbeted the doors, and fine tuned edge profiles.
Doweling jig for cabinet side right. Used some left over black locust from some coopering planes. Extremely hard, great for jig bodies.
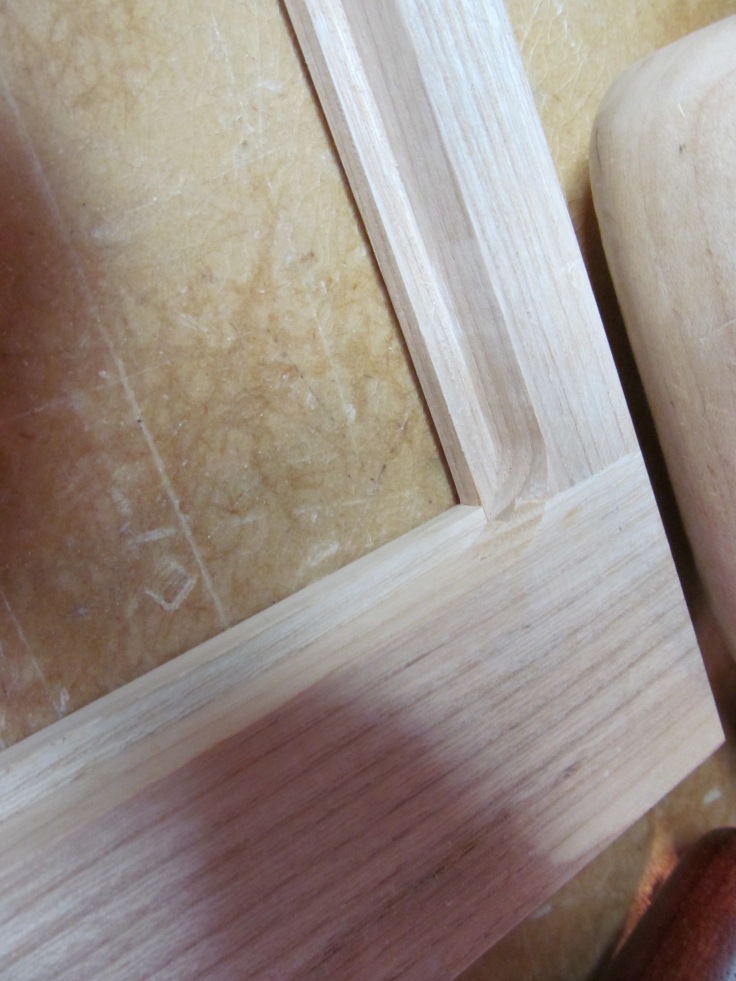
Performed the art of “free style” rabbeting at school on a router table with a 3/16″ rabbeting bit. Snuck up on the cut to leave a 3/16″ finished edge. Finished up corners with me Ashley Iles 🙂
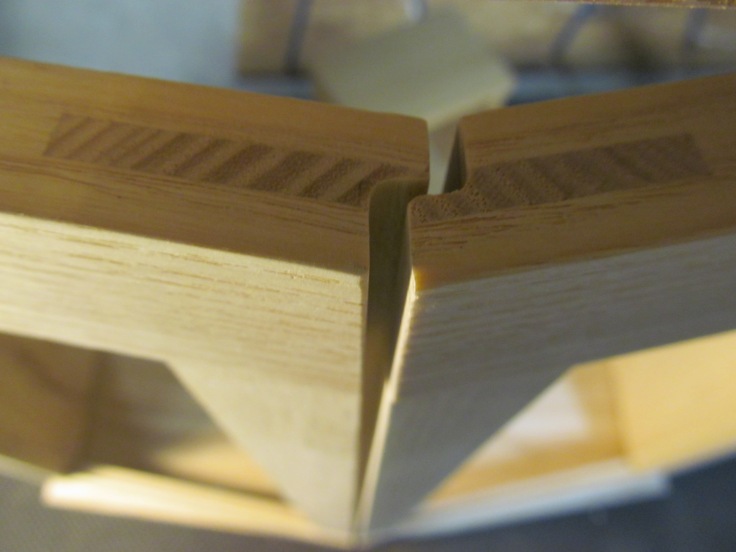
Speaking of rabbets, door edges have a 10 degree bevel to cant the cabinet doors outward. I followed up with a matching rabbet. I used a straight router bit that I ground with a small 1/16 “ish” radius. A nice little detail on these cabinets.
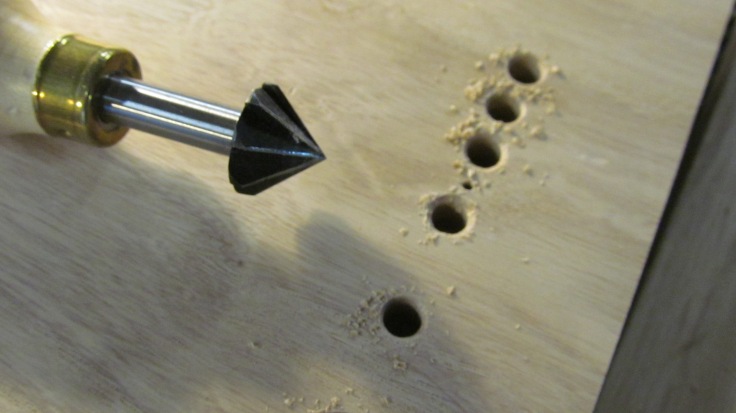
Easing the drilled holes for dowels, great insurance over any mishaps when gluing the case together. Sharp edges, both dowel end and drilled holes, should be eased. Having parts fit easily together,with no chance of tear out or interference, makes for happy glue ups and smiles from woodworkers.
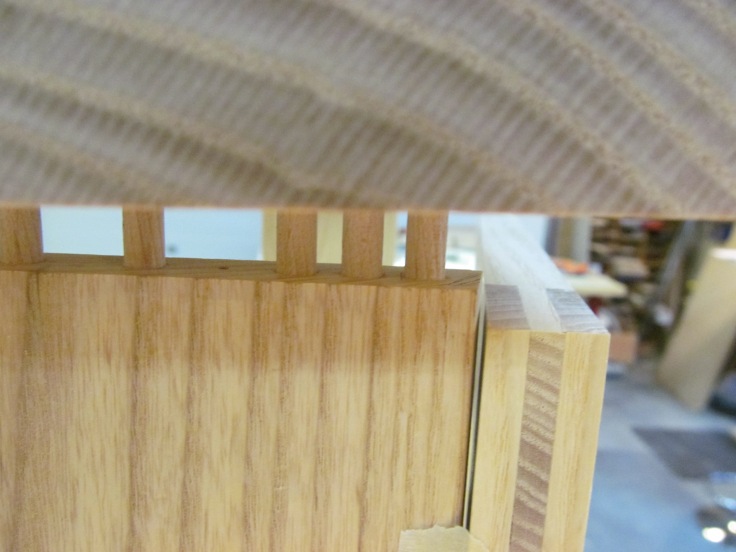
The front of the cabinet, left hand side. Closely stacked dowels at both ends of sides provides a more secure connection in areas where doweled cabinets can fail.
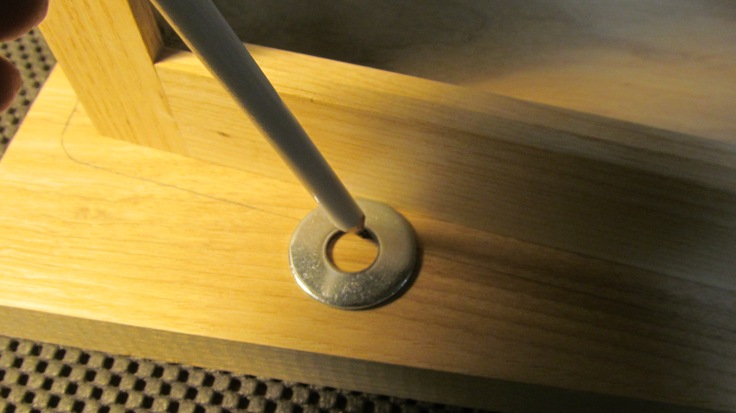
Tracing off the angle to the top and bottom. I used a washer with a 1/2″ setback which will provide enough material to hand plane the bevels and round overs. Some day I will buy those nice Veritas offset wheel gauges.

The double bevel of the top. The bottom bevel is wider and steeper than the top. I couldn’t tell you the angles as I did this all by feel. Penciled in some guide lines and using my block plane to do all the handwork.
Frax is coming along nicely 🙂





Leave a comment